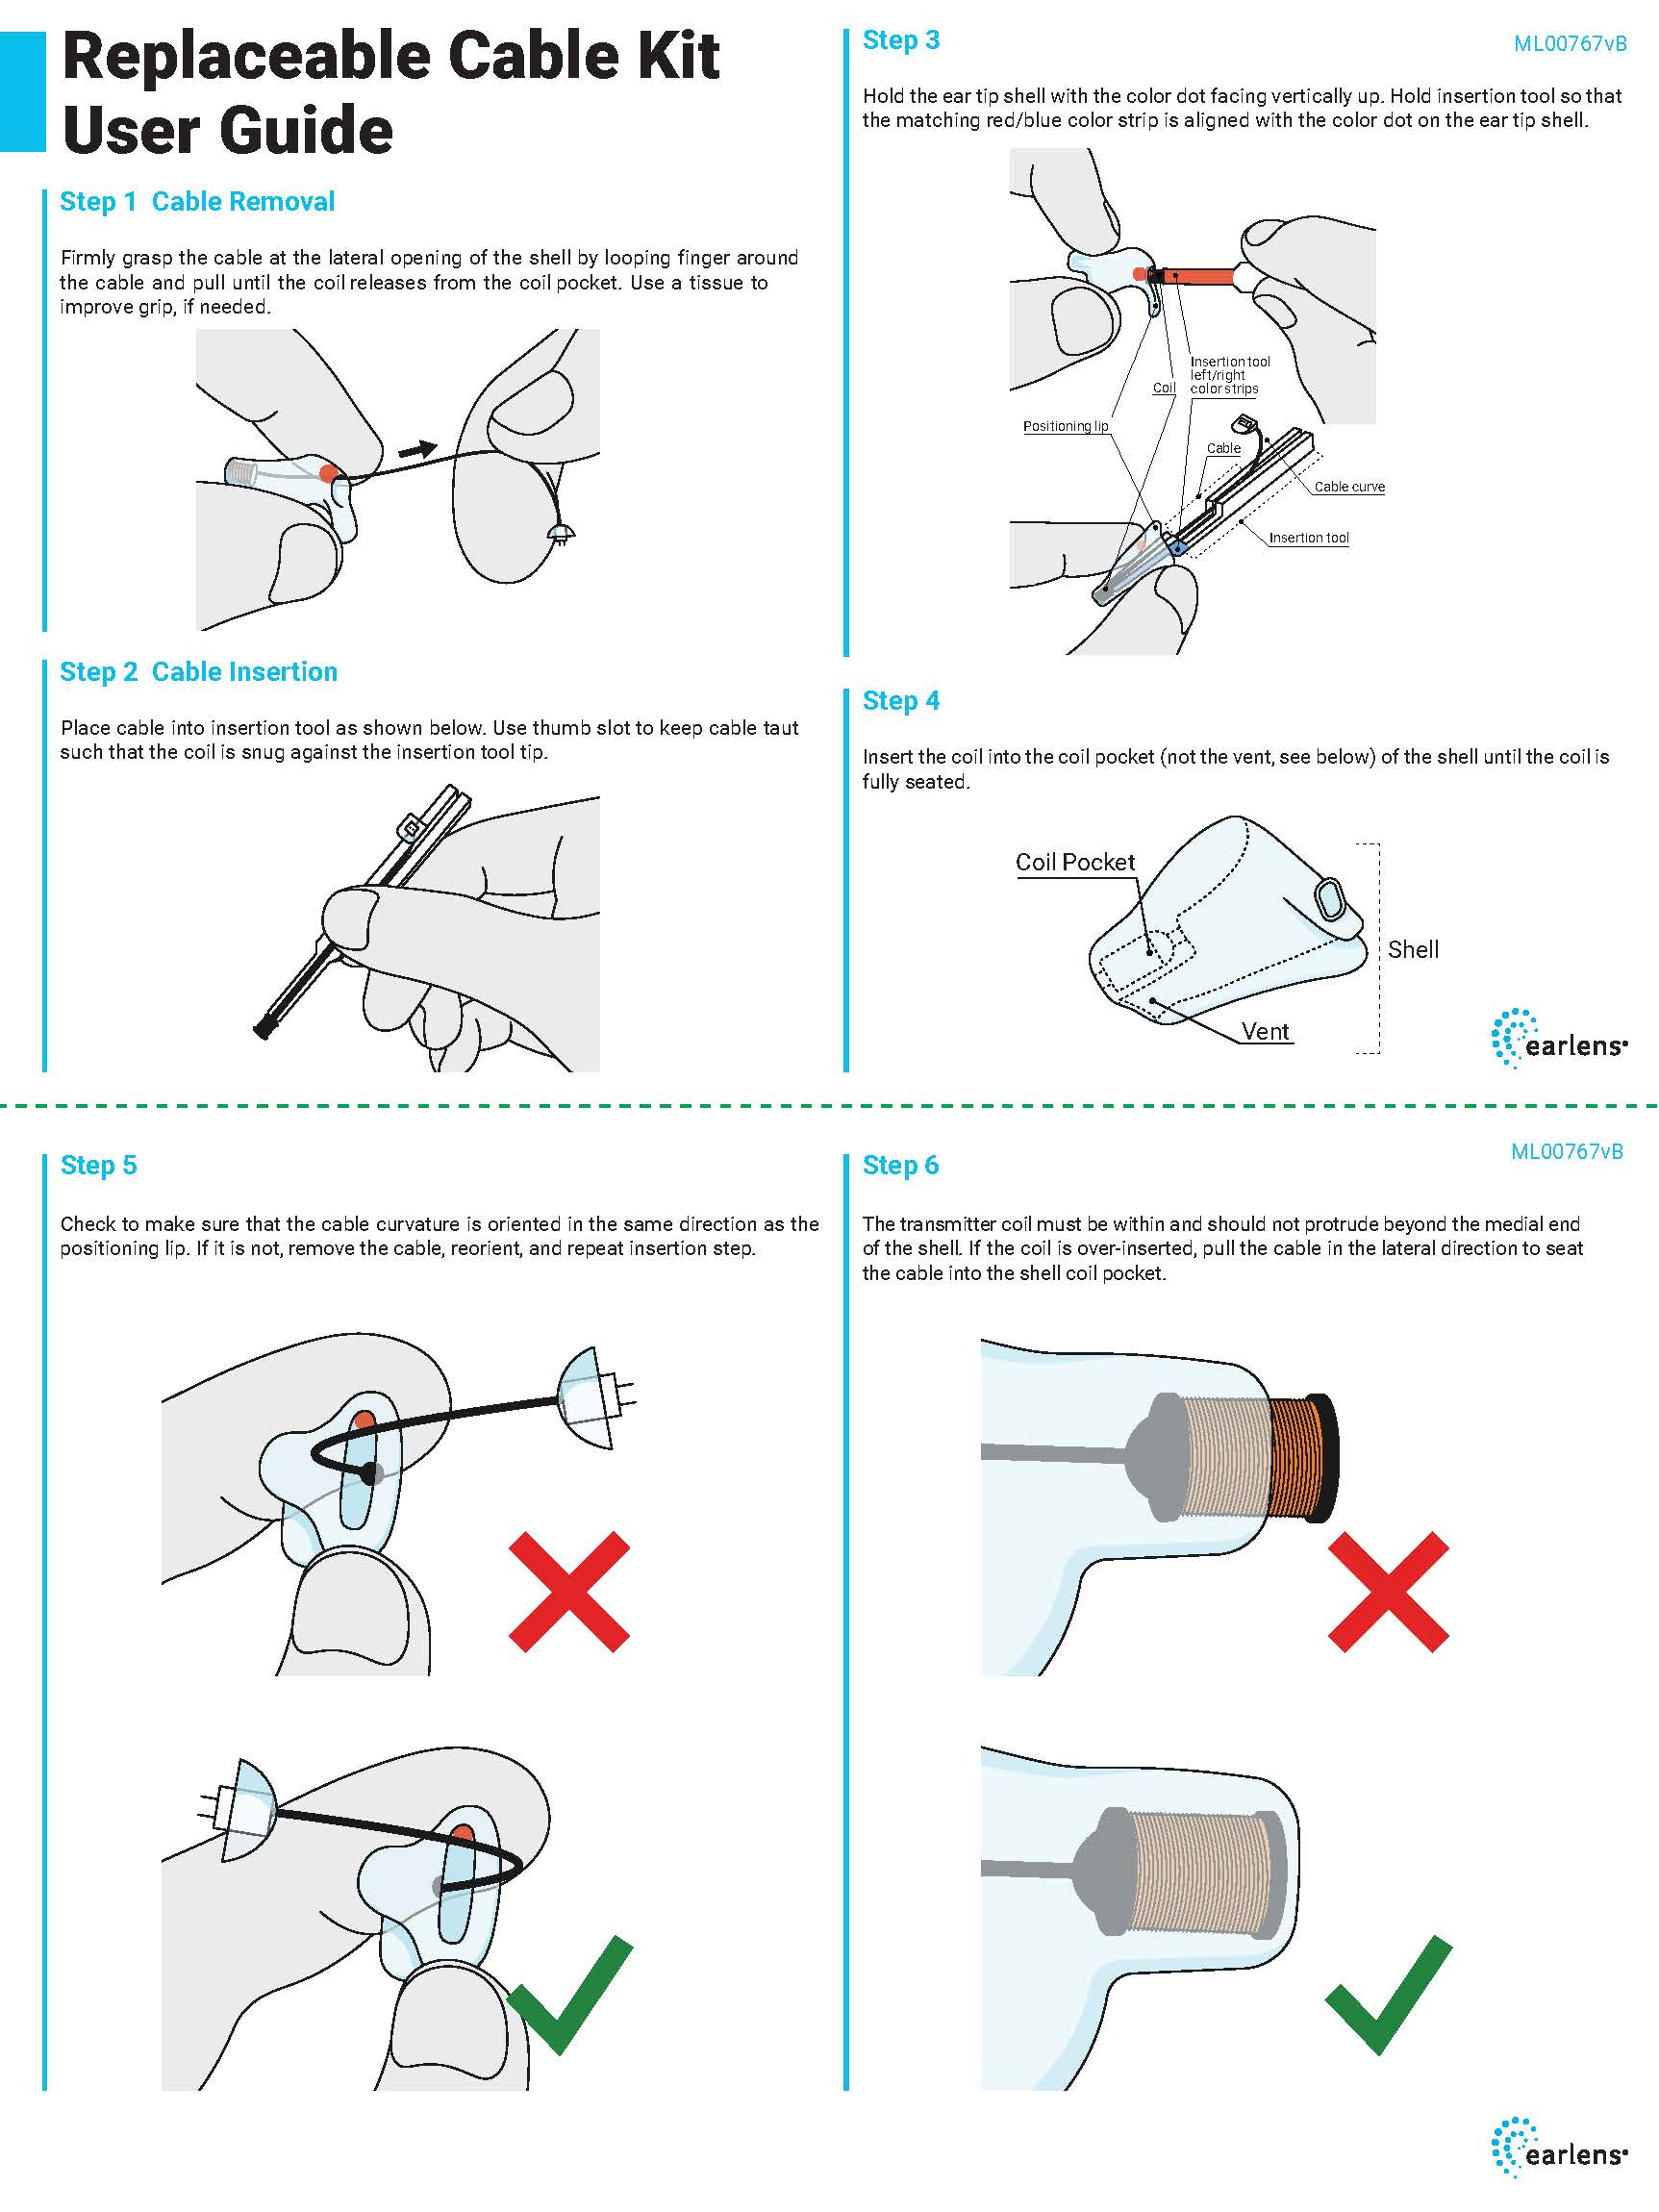
Ear Tips with
Replaceable Cables

What are Ear Tips
With Replaceable Cables

The Earlens Ear Tips with Replaceable Cables are a new system that makes fitting and caring for patients even easier. The design incorporates a simple connection mechanism between the cable and shell, allowing you to change the cable at your office

Frame 1101 Earlens

Cables are universal and can be used on either Left or Right side

Use the new tool to insert cable into the shell

Cable is removed from the shell by gently pulling from the shell

bullet point 1 Earlens For insertion and removal steps, see here

Ear Tips with Replaceable Cables eliminate complete Ear Tip rebuilds for:

Cable Length

Cable Damage

Migration

(due to cable length)

Discomfort

(due to cable length)

Cosmetic Appeal

Product & Sizing Information

Cables are available in sizes from letters A through R in 2 mm increments (around the thickness of a nickel)

Overall cable length (A through R sizes) = Length from processor to entrance of the ear canal (measured by audiologist) + Depth of ear canal (measured using impression taken of patient’s ear)

Overall lengths may vary due to each patient’s ear canal depth - therefore, no conversion chart is available to convert results from the audiologist’s sizing tool to final cable length letter

5 Earlens
Thickness
of nickel: 1.95 mm

Other Resources for Providers

Replaceable Cable – Insertion

Replaceable Cable – Removal

See User Guide

Rectangle 4 Earlens

Ordering Information

The following items can be ordered via online portal or through Customer Care:

Inductive Replaceable Cable Kit

Replaceable Cable Insertion Tool 2-Pack

Replaceable Cable 2-Packs available for sizes A – R in 2 mm increments

Login to the online portal or call Customer Care (844-234-5367) for additional ordering information

Frequently Asked Questions (FAQs)

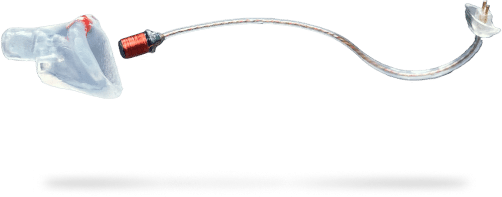
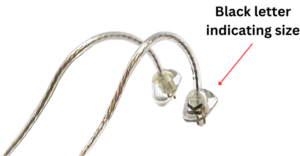
Ear Tips with replaceable cable have black letters imprinted on the plastic hood whereas Ear Tips with non-replaceable cables do not.

Replaceable Cable Webpage Images 1 Earlens

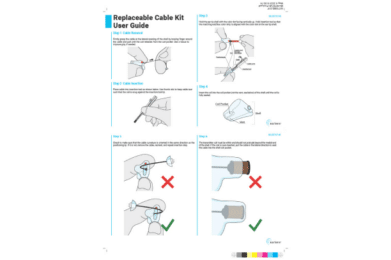
When cable removal is challenging:

  • Use a rocking circular motion while pulling the cable out of the shell instead of a sharp pull or tug.
  • Use insertion tool to facilitate removal, if needed. Use of other tools is not recommended.
  • Hold the shell with a tissue to facilitate removal.
  • Use a drop of mineral oil in coil pocket if needed to ease removal.

Use removal feature on the insertion tool to press medial end of coil out of the shell. You can also squeeze the shell to remove damaged parts from the shell and repeat insertion steps with a new cable.

Cable insertion/removal friction reduces with additional insertions and removals of cable.

While removing cables from a shell worn by a patient, wipe shell or cable with an IPA wipe to clean oil and/or cerumen.

Once fully inserted, the cable is secure and is designed to prevent separation from the shell during daily use.

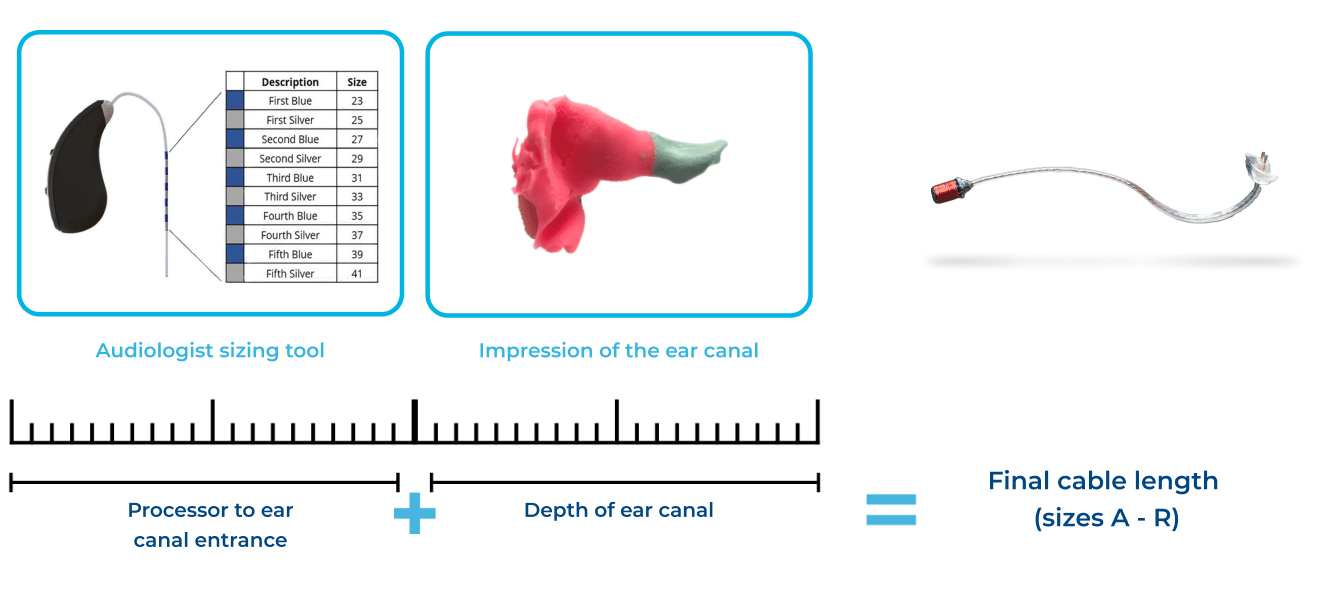
Yes. When placing an order for a new patient, you will still need to measure the cable length needed using the audiologist’s sizing tool and enter that value in the new order form (between size 23 – size 41). Please see Product & Sizing Information section for more details.

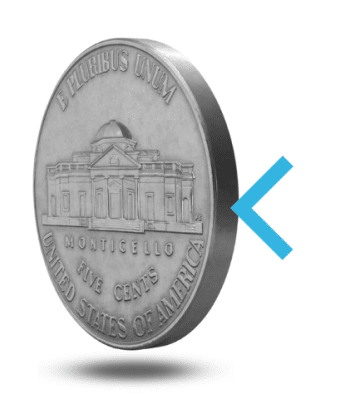
There is no measuring tool to figure out what size to use. Because the sizes are in 2mm increments, you may have to use a size E or D. Inspect how the Ear Tip appears on the patient’s ear, and approximate – do you need a cable 6mm shorter (3 nickels shorter)? If yes, go 3 sizes down to “D.”

To prevent over-insertion of cable into the shell, block medial end of the shell with your finger or gently tap the shell against a solid surface (e.g., table).

  • Wipe down/clean shell of cerumen and oil before attempting to remove cable.
  • Verify that the new cable is not over-inserted.

ML00832vB